
Fund That Flip 02 - Design
This is the second post in our Fund That Flip series where we follow a project all the way through. Check out the other posts in this series here!
This post is about the schematic design phase. This is when the design is developed further and becomes more real.
SCHEMATIC DESIGN
We are able to use the response that the client has about the concept design to refine priorities and goals before we move onto other phases of design. For Fund That Flip we were able to establish that the office would be mostly open and retain views of Lake Erie in the space. We also confirmed the goal of making a great first impression when you walk into the office by entering right into the open lounge and kitchen -- where the action is -- rather than into a traditional reception space.
Sheet from a client presentation that shows precedent images and our color diagram.
DESIGN CONCEPT / INSPIRATION
We take these goals and establish them as our design concept that we refer to during further design phases to make sure we’re still meeting them. On top of these design concepts we look at existing examples of similar projects--in architecture, we call them precedents--to get further inspiration and provide images that the clients can see so they can better understand the design direction. For Fund That Flip, we also designed a concept for how color would be distributed spatially throughout the office by making a plan diagram.

Sketch elevations of the kitchen pods.
DESIGN DEVELOPMENT
The design ideas start getting more specific during the Design Development phase and therefore our sketches and presentations can get more specific too. During this phase, materials evolve from vague notations to specific selections.
MATERIALS
As for choosing these materials, establishing the design diagram helped us follow the rules we set up for ourselves and narrow-down the endless choices of materials. We chose a color scheme that would endure changes in design trends. After sifting through many material samples, we made a physical materials board so our client could see and touch all the actual materials.
Finish materials arranged by proximity to one another.
CLIENT PRESENTATIONS & RENDERINGS
Through this process of design development, we’re able to provide drawings and images to the client that help them understand what the design is. For this project, we held several design meetings to review progress. Toward the later stages of design development, we produced renderings to illustrate what it would be like to be in the finished space. These images provide perspective, material approximation, lighting effects, and other features that differ from more abstract drawings we do, like plans and elevations.

Earlier rendering of lounge and kitchen

Later rendering of lounge and kitchen compared with later rendering of the same area.
As we determine the final design of the project, we move on to construction drawings. Our next post in this series will be all about construction documents.
Fund That Flip 01 - First Steps
Starting a new project is exciting for us in the office. The possibilities are endless, everyone is enthusiastic, and the constraints of time and budget haven’t reared their heads (yet). Every project is different, but there are some steps that are common to almost all of them. Our goal with this series of posts is to walk through the various phases/stages of the design and construction process.
The Client
Around this time last year we finished an office renovation for Fund That Flip. They quickly outgrew that space and asked us to help design them a new office.
See more pictures from Fund That Flip’s first office here.
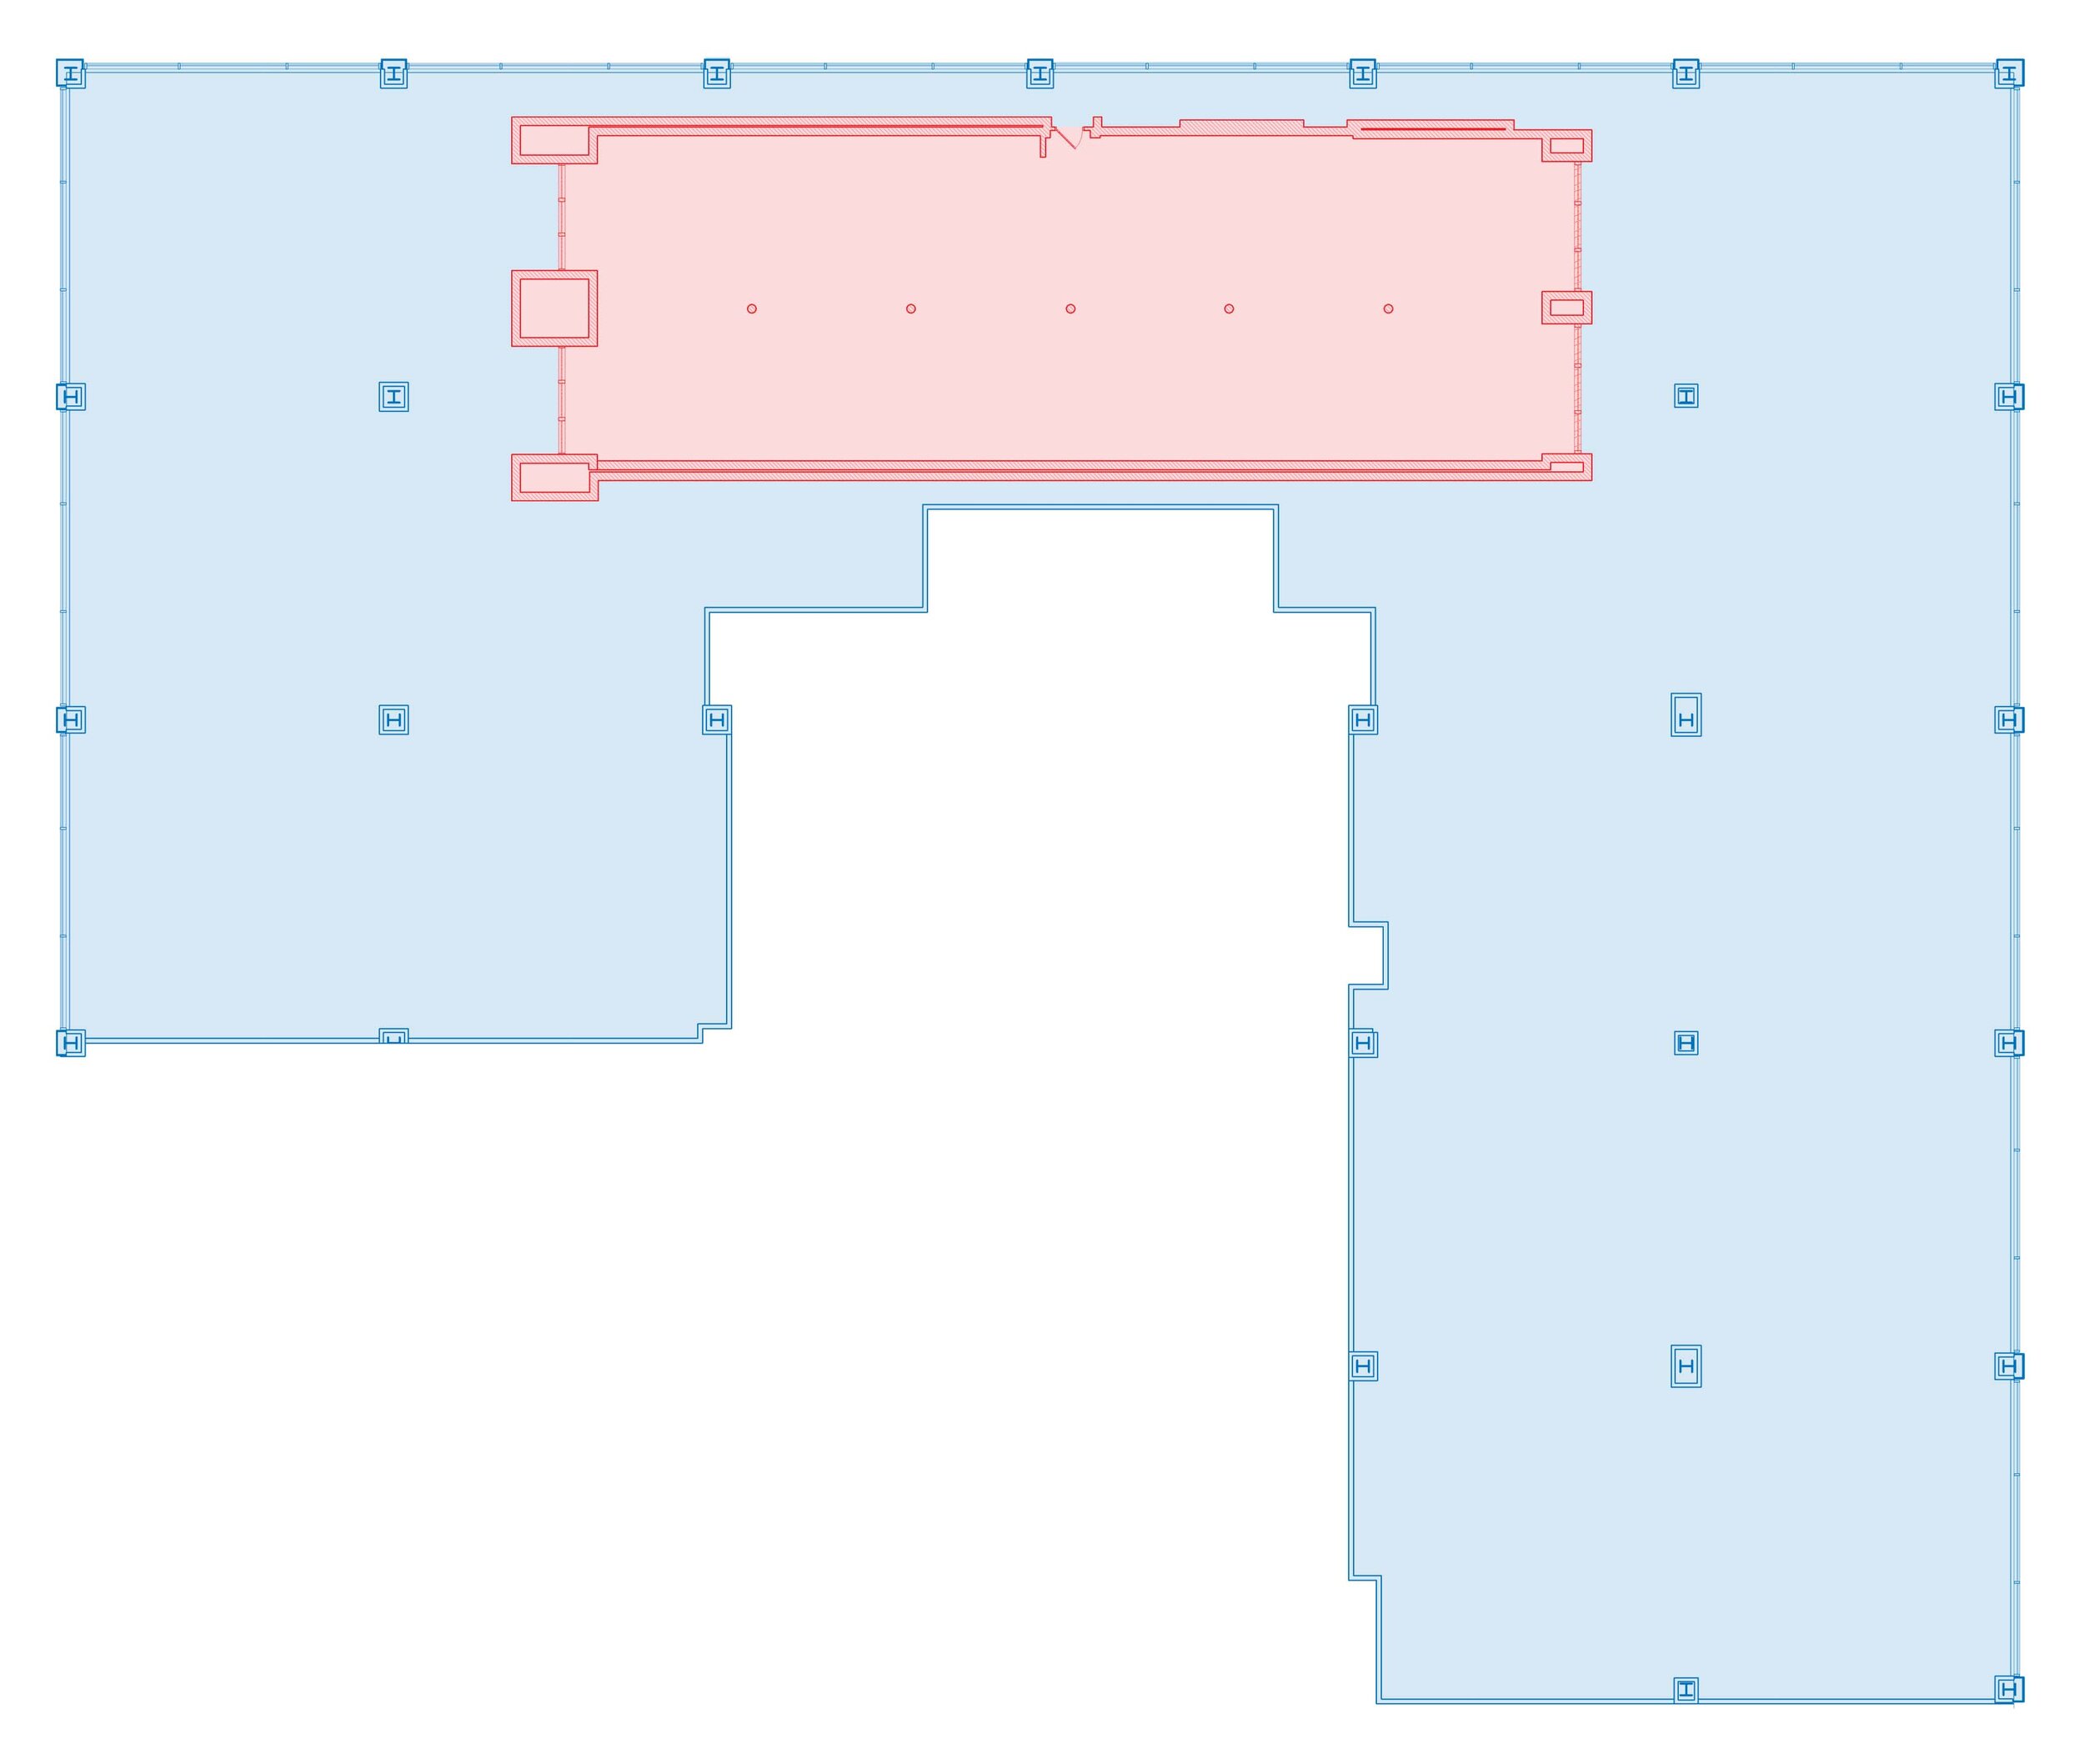
Fund That Flip’s old office (red) inside their new space (blue).

Existing conditions floor plan
Initial conditions
The very first step is to take stock of the existing conditions. This means going to measure, photograph, draw, and note everything that we can know about the space. For this project, seven people descended onto the site at once (four from our office and three from our engineer’s office). Although it is nearly impossible to get all the information in a single visit, we still try to be a thorough as possible.
Conceptual Design
The first meeting with a client lets us start the conceptual design phase. It is important to make sure of a few key factors (some more exciting than others). In this case, the information we needed was:
What is the vision for open office areas vs. enclosed offices? How many of each are you looking to accommodate?
How does your company operate within the office space? Does everyone value their privacy? Should spaces be more open and collaborative, even if that means less privacy for folks?
How should your office “feel?” Is it a sleek, polished corporate environment? More raw and loose?
Initial Concept Sketch
We treat conceptual design both as a way to lay out space requirements AND to start developing the overall design and feel of the project. To this end, we don’t do a lot of pure “bubble diagrams.”
The client’s budget is kept in mostly in the background during this process. It isn’t totally forgotten, but there will be plenty of time in future steps to bring it more to the front. This is the time to establish the aspirational goals, and then see how to best achieve them.
Speaking of next phases. The next post will elaborate on the schematic design phase, where things become a little more “real,” and the visions from the conceptual design phase get put to the test.